Keto Salmon California Rolls Recipe

Gluten Free
Lunch
Quick Easy
4/5
(9 reviews)
Keto Salmon California Rolls
Zylo Recipes

Description

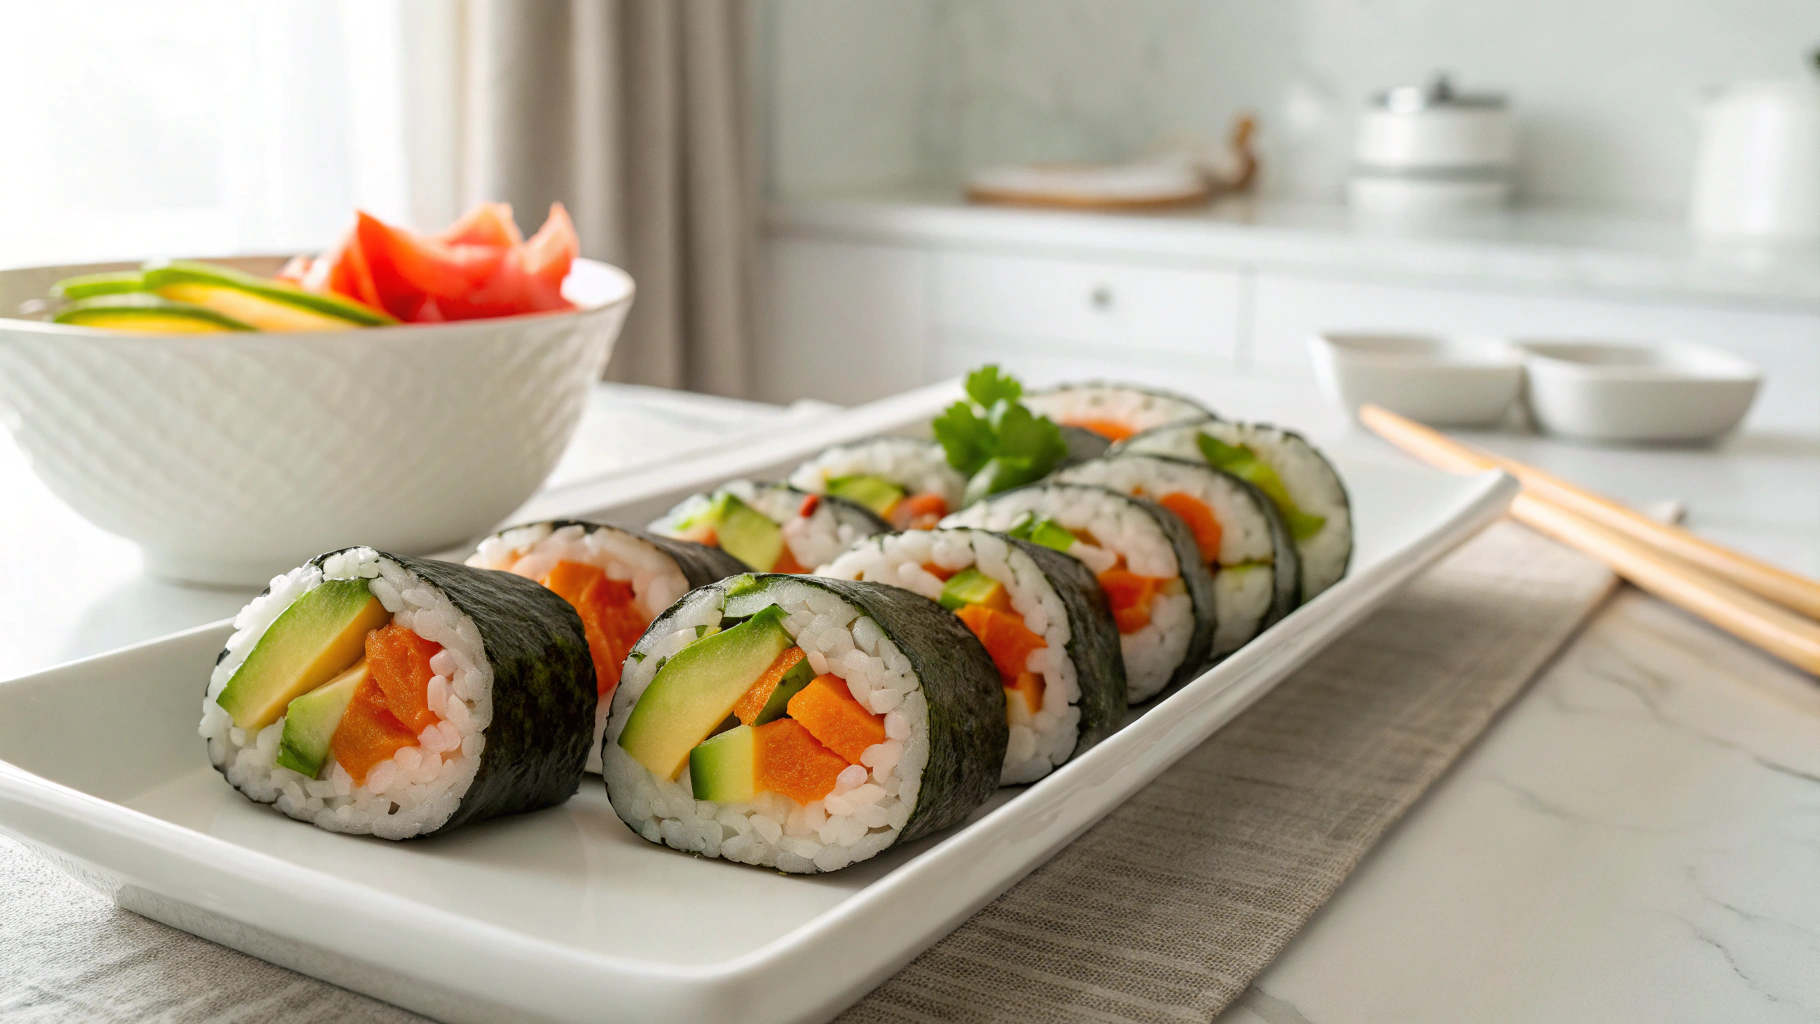
Imagine a delightful dance of flavors and textures in every bite – that's what these sushi rolls offer. This recipe empowers you to craft these little bundles of joy in your own kitchen, using a simple sushi mat to guide you. The beauty of homemade sushi lies in its freshness and the ability to customize it to your exact liking.

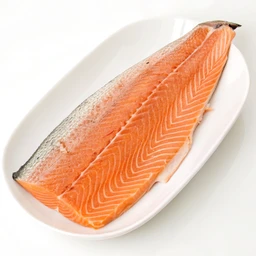
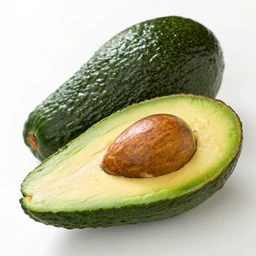
Think crisp vegetables, succulent seafood, or creamy avocado, all nestled within a bed of perfectly seasoned rice. The possibilities are truly endless. The key to achieving professional-looking rolls is all in the technique.

As you begin, the gentle curve of the bamboo mat becomes your ally, helping you to coax the ingredients into a compact, satisfying shape. Firm, even pressure is essential. You want each roll to be snug and secure, preventing it from unraveling and ensuring a pleasingly firm texture.

With each turn of the mat, you'll feel the ingredients meld together, creating a harmonious whole. Beyond the technique, consider the art of balancing flavors. A touch of wasabi adds a playful kick, while pickled ginger cleanses the palate between bites, preparing you for the next wave of deliciousness.

A splash of soy sauce enhances the savory notes, tying all the elements together. The experience is a multi-sensory delight. The visual appeal of the rolls is undeniable, with their vibrant colors and neat presentation.

The aroma is equally enticing, a blend of the sea, fresh produce, and tangy seasonings. And of course, the taste is simply divine, a symphony of sweet, salty, and umami notes that will leave you craving more. With a little practice, you'll find that making sushi at home is not only rewarding but also a fun and creative activity.

Gather your favorite ingredients, invite some friends over, and embark on a culinary adventure. Let the gentle rhythm of rolling, the vibrant colors, and the delightful flavors transport you to a world of culinary bliss. These sushi rolls are more than just food; they're an experience, a celebration of freshness, flavor, and the joy of homemade goodness.

Preparation Time

Prep Time
20 min
Cook Time
3 min
Total Time
23 min

Nutrition Information

Per 1 rolls serving
C
Calories
300 Kcal

C
Carbs
5 g
Fi
Fiber
3 g
Sugar
2 g

P
Protein
15 g

C
Fats
25 g
Saturated Fats 5 g
Unsaturated Fats 18 g

Cholestrol 75 mg
Sodium 200 mg
Potassium 150 mg
AI logo Zylo AI

Your Personal
Nutrition
Guide

Avatar 1 Avatar 2 Avatar 3 Avatar 4
More than 230K
downloads
4.9/5 out of 3k reviews
Live ! Download now on Android !

Ingredients

    1.
    Cauliflower Rice
    Cauliflower Rice
    12 ounce
    2.
    Cream Cheese
    Cream Cheese
    3 ounce
    3.
    Apple Cider Vinegar
    Apple Cider Vinegar
    1 teaspoon
    4.
    Kosher Salt
    Kosher Salt
    ½ teaspoon
    5.
    Salmon
    Salmon
    8 ounce
    6.
    Kosher Salt
    Kosher Salt
    ½ teaspoon
    7.
    Red Bell Pepper
    Red Bell Pepper
    ¼ medium
    8.
    Cucumber
    Cucumber
    ⅛ large
    9.
    Avocado
    Avocado
    ¼ avocado, California
    10.
    Nori Sheets Sea Superfood by Navitas
    Nori Sheets Sea Superfood by Navitas
    4 sheet

Instructions

    1.
    Heat the cauliflower rice in the microwave from frozen following package directions. Heat cream cheese in a small bowl on HIGH for 15 seconds until very soft. Combine with the cauliflower rice, adding apple cider vinegar and ½ t kosher salt. Mix well.
    2.
    Cook salmon any way you prefer. For this, microwave the salmon, sprinkling ¼ t kosher salt on the fish before cooking. Microwave the salmon on HIGH for 1 ½ minutes, adding 15-second increments until the fish is cooked and reaches 145 F.
    3.
    Take a sushi bamboo mat and cover it with plastic wrap. Place a sheet of nori on top with ¼ of the cauliflower rice. Spread into a thin layer.
    4.
    Top with ¼ of cooked salmon and a couple of pieces of bell pepper, cucumber, and avocado. You don’t need much because you want it to roll nicely.
    5.
    Roll up the bamboo mat, squeezing each section, then rolling a little more and squeezing it again into a roll to ensure that it’s tight.
    6.
    The roll should look nice and tight.
    7.
    Cut the ends of each roll and cut each with a very sharp knife into 6 pieces.